Some time ago, I accidentally lost one of my Gaynor Minden pointe shoes’ elastic drawstring inside the drawstring casing. To make matters worse, I pulled the whole drawstring out.
If you take nothing else away from this post, remember this part: DO NOT PULL THE DRAWSTRING OUT!
I was able to reinsert the drawstring, but it was difficult and I had a hard time finding advice. So I decided to write up my experience in case it helps anyone else.
Note: I have only worn Gaynor Minden pointe shoes, so I have zero idea if this will work on other brands, and I cannot advise on other brands.
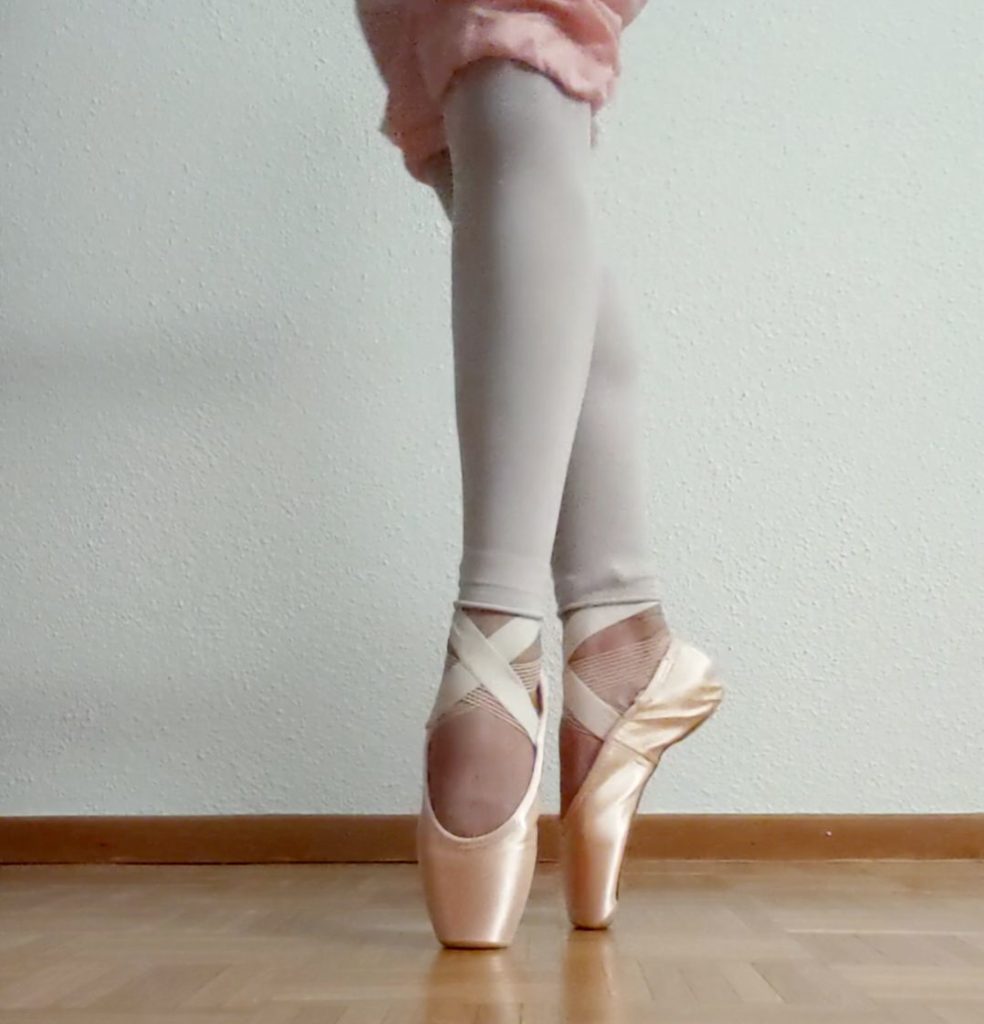
At the time I didn’t take any photos because it was midnight and I was super exhausted. Oops. I did my best to illustrate some of the steps on my repaired pointe shoes, though. Please feel free to reach out if you have any specific questions and I will do my best to help.
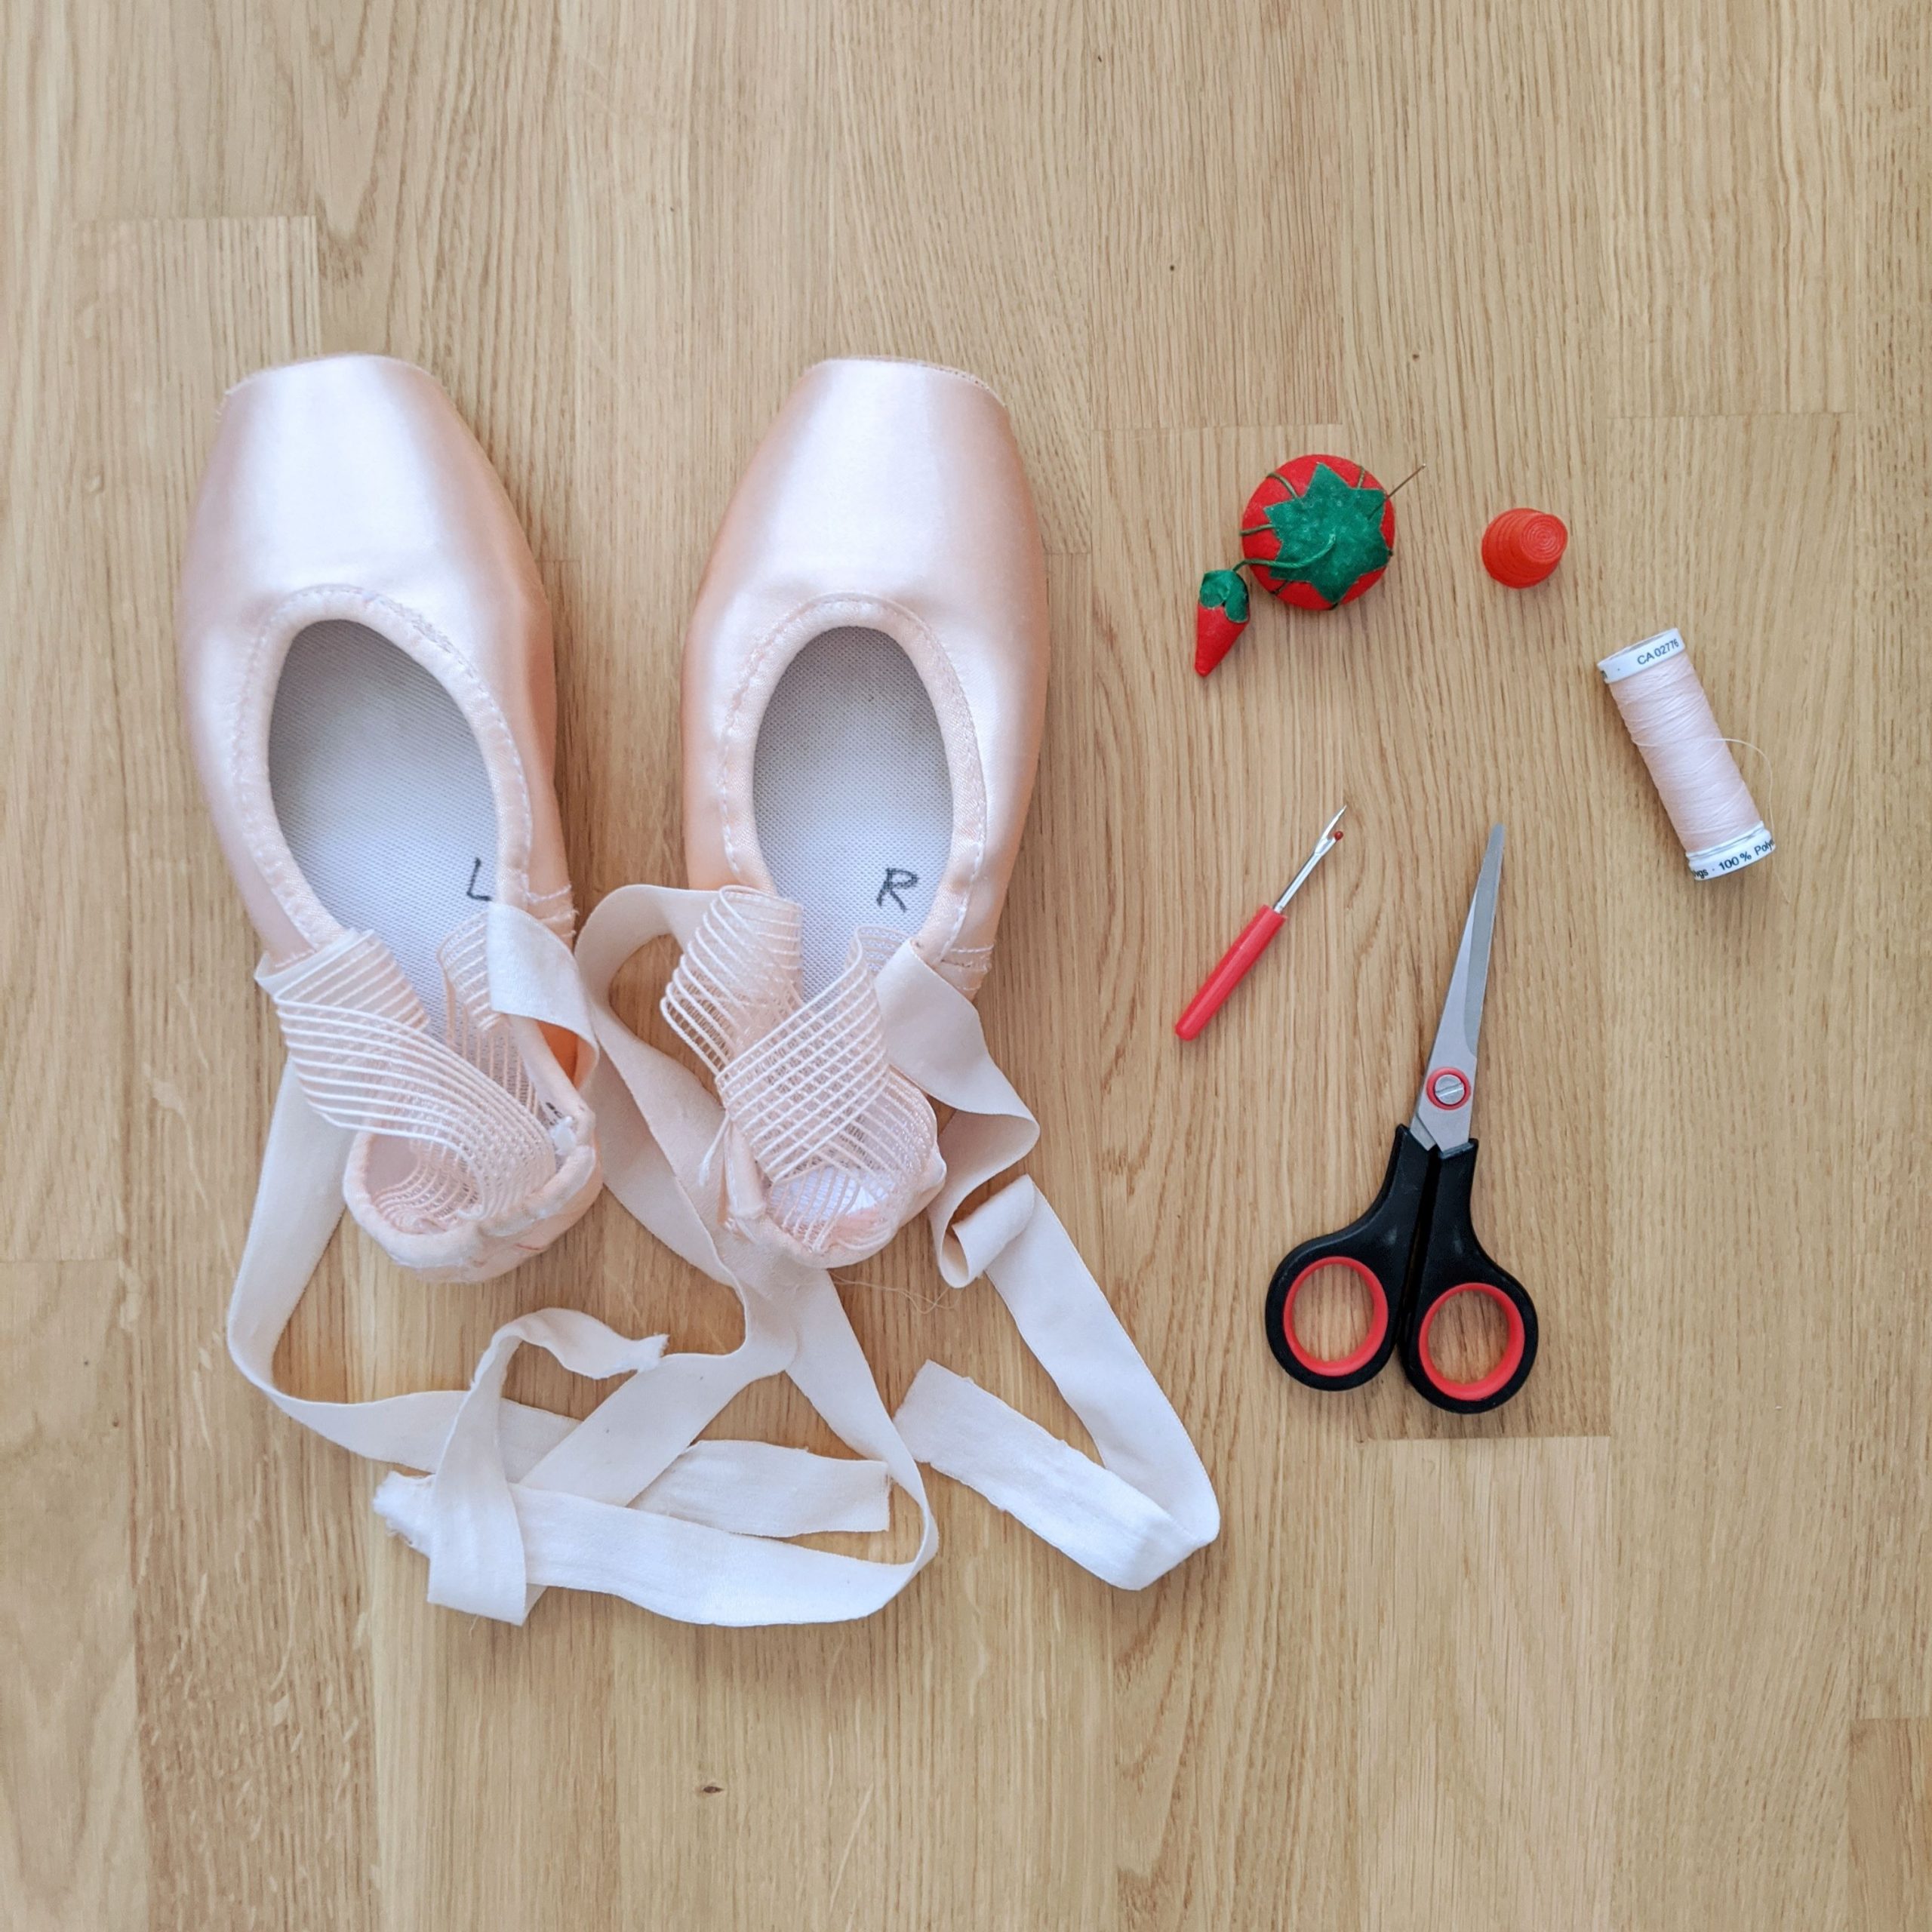
Here are the tools that I used to successfully re-string my shoe. These are the same tools that you would have needed to sew elastics and ribbons to your shoes anyway, so hopefully they are already at your disposal.
- Small sewing needle
- Seam ripper (or small, sharp scissors)
- Matching thread
- Scissors
- Thimble (optional; I find GM satin pretty tough)
- First, if you just lost one end of the drawstring, do not pull the rest of the drawstring out! Instead, grab a seam ripper. Feel along the casing to find the spot where the string has slid to. Use the seam ripper to cut open the seam at this point. Don’t open it more than 2 cm/1 inch, because you’ll eventually have to sew it shut again. Once the seam is open, reach in and grab the end of the drawstring. Go to step (1).
If you lost the entire string like I did, it’s okay! There is hope. Let’s go.
- Whether you lost just one end or need to reinsert the whole thing, this step is the same: take your sewing needle, the smaller the better. I threaded mine with a very long piece of color-matching thread, about 3x the length of the entire casing. I pulled the two ends of the thread together and knotted it (you don’t have to tie the knot, but if not, you risk the thread moving unevenly while you pull it through the casing).
- Insert the needle, eye first because it’s the slippery end, into wherever you want to start the process. If you are inserting the whole drawstring, I suggest starting at the side, where the drawstring normally comes out.
If you are only re-inserting one end of the drawstring, then insert the needle at the place where you ripped open the seam, which should be where the stray end of your elastic is.
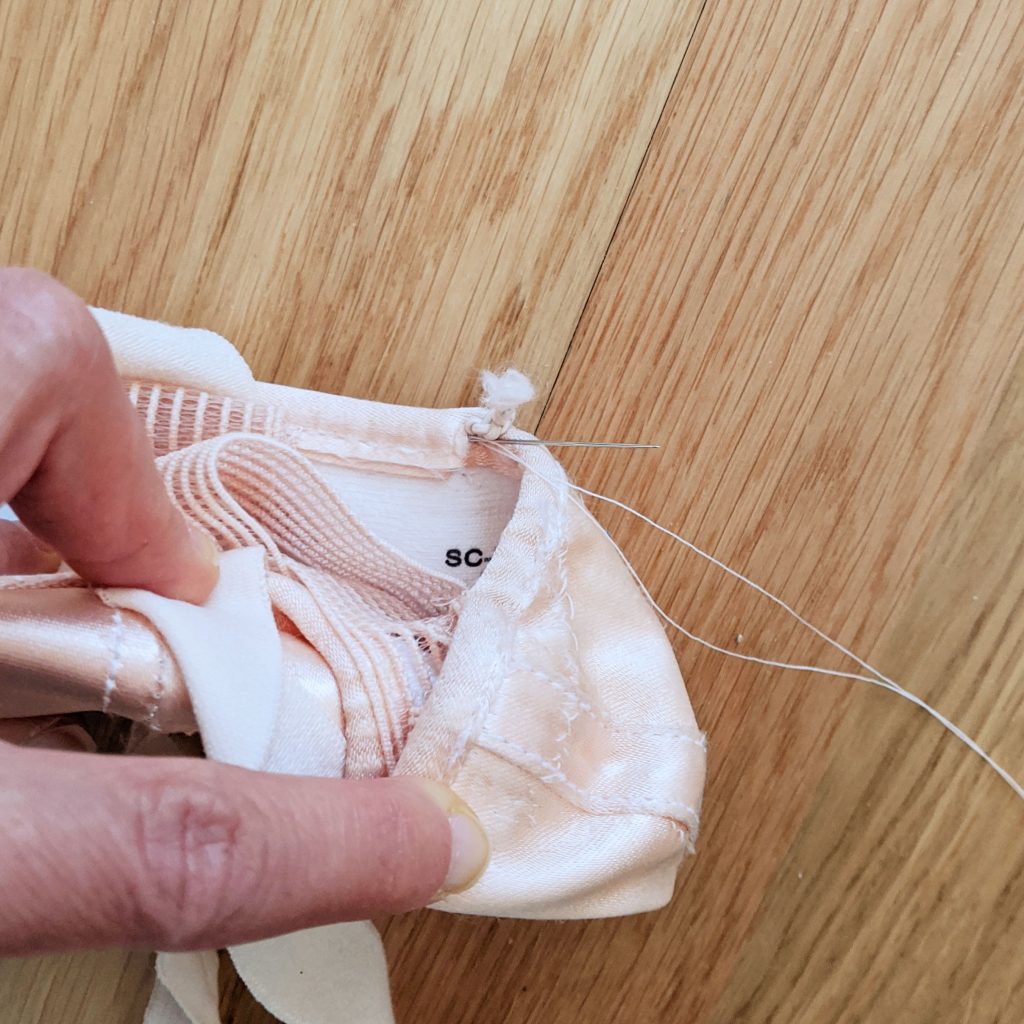
It should be easy to slide the needle in. The next part is harder. Wriggle, not too hard, on the casing, to steadily move the needle down the casing. As the needle moves, it will pull the attached string along.
Your fingers will want to fall off by the time you are done, if you are reinserting the entire drawstring.
Another note: it is very difficult, if not impossible, to get a whole sewing needle around the curved throat of the pointe shoe. My needle snapped in half just before it rounded the curve. If this happens to you, it’s completely fine. Continue working the “front” half, which is the bit with the eye and therefore attached to the thread. We’ll come back to this later.
- Eventually your needle will, I promise, come back out. Take a breather. Congratulate yourself: you have now threaded the entire casing.
If your needle broke, now use your seam ripper to open the casing wherever the broken piece is. Remove it. But don’t close the casing yet.
Go back to your elastic drawstring. If you are only reinserting one end, make sure the other end is secure (I suggest knotting it). If you are reinserting the whole thing, pick one end and knot it. Leave the other end free for step (5).
You don’t want to have to do this whole thing all over again.
- Take the ends of your string. Snip it if you knotted it, leaving two free ends. Or if you didn’t knot it, just select a free end. Then take the NOT knotted, soon-to-be-inserted end of your elastic. Using a needle (a new one in my case), sew one of the thread ends through the actual rubber of the drawstring end. Then tie the two ends of the thread together so that the elastic is securely attached to the thread.
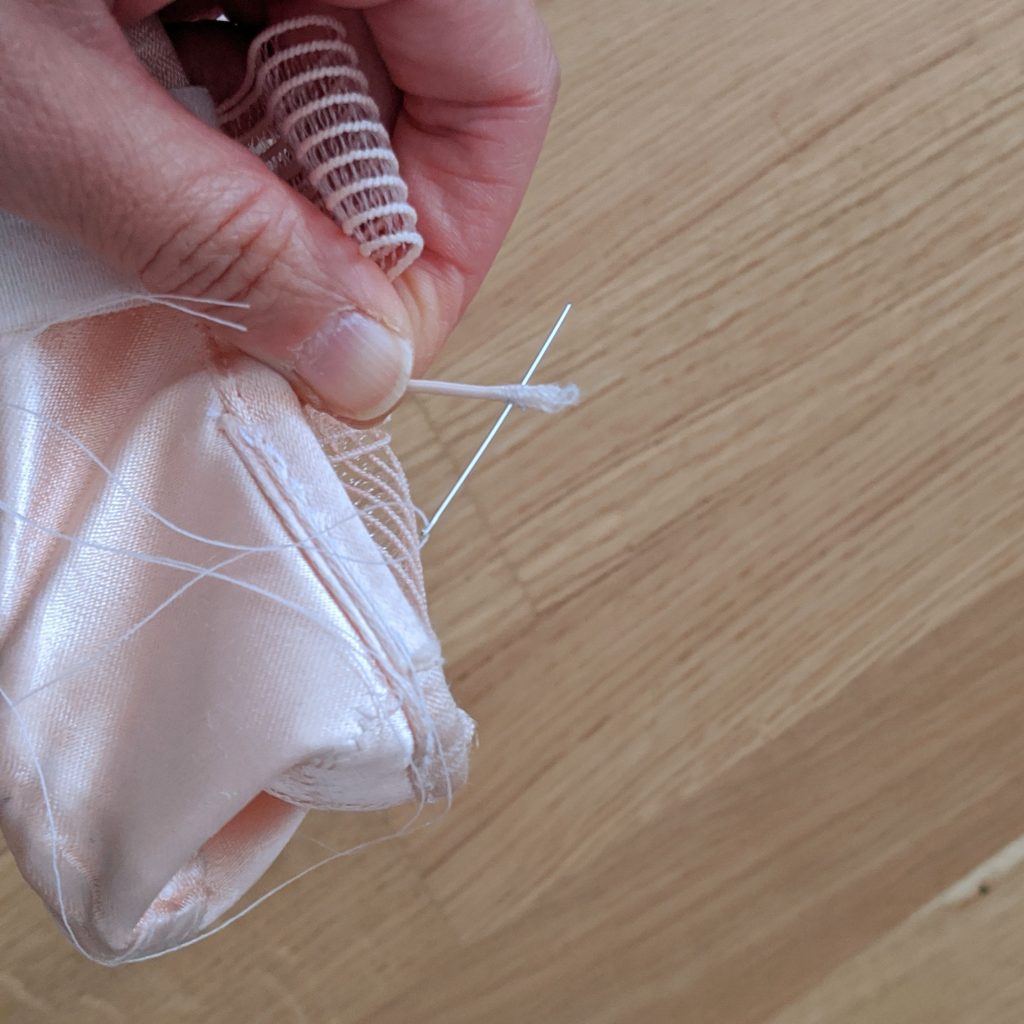
- Now gently tug on your needle, which will tug on the thread, which will tug the elastic through the casing. Take it slow. You do not want to break the thread and have to start over. Still, I found it much faster than wriggling the needle through.
You can speed the process somewhat if you made a cut anywhere else in the casing–for instance, if you had to open the casing to remove a broken needle fragment. When you manage to pull the elastic to the cut, just reach in and grab the elastic and pull it through with your hand (I hope you secured the other end of the elastic). This is especially helpful for getting around the throat.
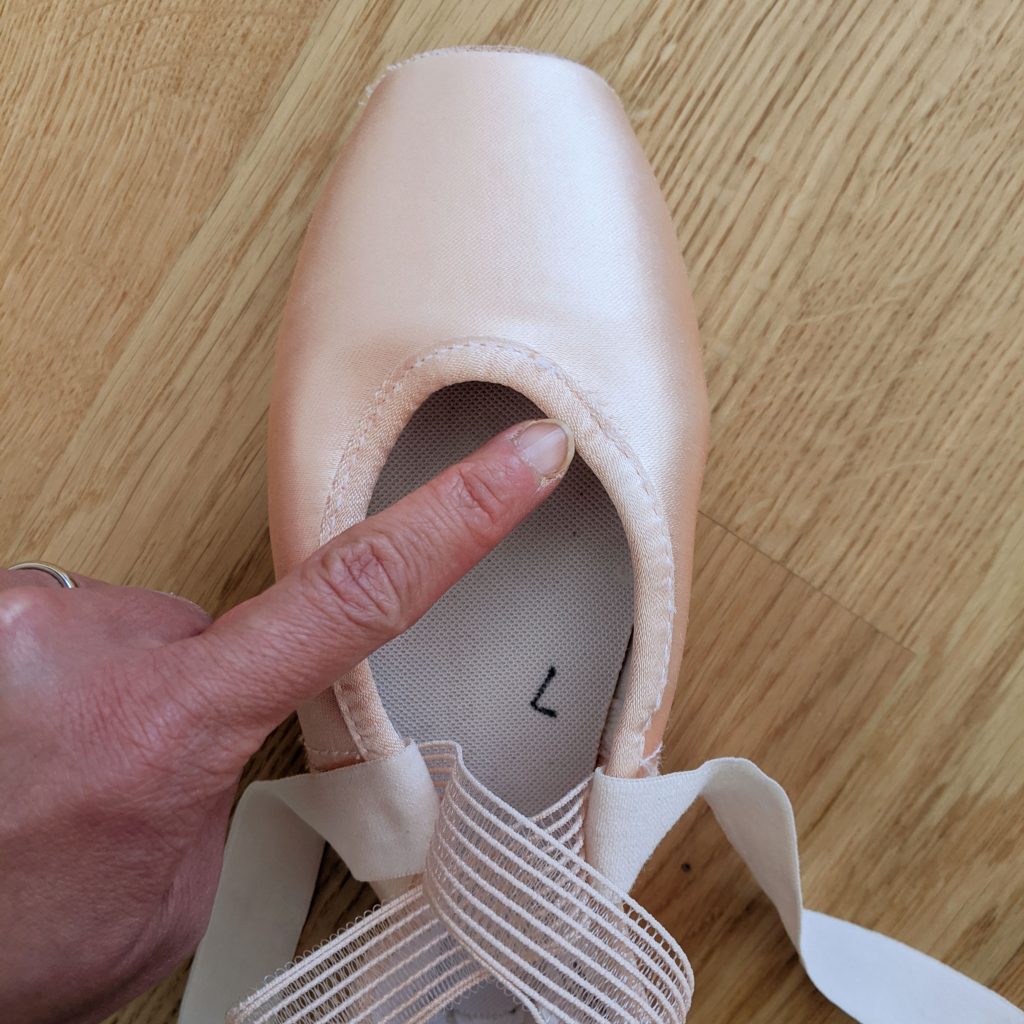
- When you finish, knot the two ends of the drawstring together so that this never happens again! Adjust the tightness if you need to, of course.
- Time for the finishing touch: grab a needle, thimble and some fresh thread and close up all the seams that you opened. Rest your hands. Then have a drink. Or a pointe class! You’ve earned it.
I hope you found this post helpful! If you have any questions, feel free to contact me and I will do my best to help.

Hi Kara! Thank you for explaining things so well 🙂
Both sides of the drawstring in my Gaynor Minden’s got lost in the casing. I was wondering if you knew the best way to locate one end of the drawstring. I’m having a really hard time finding it.
Thank you!
Hi Maria, it can be pretty tough! I would suggest starting in a place where you KNOW the elastic is still in place. Squeeze the casing to get the feeling of the elastic. Then move away (in either direction, since you say you lost both ends) from that point, squeezing the casing as you move along, until you feel the casing is empty.
If that doesn’t work (I get it, the casing is very tough), I would take a seam ripper and just make small slits every couple of inches to search for the elastic. Small cuts are relatively easy to stitch shut again.
Good luck!
Thank you!!! My daughter pulled her elastic into the casing too. I was like, I’m sure someone has had this problem before. Google it and there you are! All of your tips worked perfectly. I found a bright flashlight helped to locate the elastic. Funny, her shoes are Gaynor Minden too…hmmm.
So glad it helped! I have definitely heard about this happening to other GM wearers. One of the very few (imo) downsides to this brand.
for step 5/6 are we supposed to use a different needle than the one we were using to put the thread through? and how do we attach the elastic exactly? thank you!
Hi Andrea, you don’t need to switch the needle. I only did that because I broke my original needle while threading.
If you mean how to attach the elastic to the thread, I literally jammed the needle through the middle of the elastic drawstring, going through the rubber band type material. That should give it a good firm attachment for pulling it through the sheath. Good luck! I know it’s a huge pain, but it can be done. (I have done this twice now, unfortunately, before I finally figured out how to REALLY secure my drawstring.)
Thank you so much for this hint. Yesterday my drawstring pulled apart and switched into the casing. The first thing I’d remembered from your story was, don’t pull the rest of the string out of the casing. And within 30 minutes I was able to bring the string back to the right position thanks to your report. ❤️
Thank you!! My drawstring came out during rehearsal and I needed my shoes to last a few more days. I wear Bloch Lisse and this method worked great!